|
1: Hand Press Machine Tutorial
|
|
|
|
|
(Click on image for
movie demonstration)
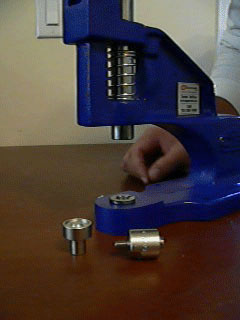
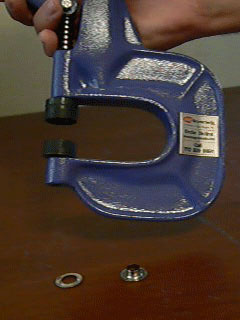
Step
1: Install Dies
When
your order arrives, your machine may have the die pre-installed
or it will be packaged separately in the box. If yours
is packaged separately you will need to install the die
using these simple steps. One part of the die will have
a screw top, that part screws in to the top portion of
the machine. The other piece of the die will have a large
head that is in the shape of a bowl and a smaller smooth
part on the bottom, this piece will slide into the bottom
portion of the machine. To tighten bottom die piece in
the machine; use a screwdriver to tighten the screw on
the side of the machine.
|
|
|
|
(Click on image for
movie demonstration)
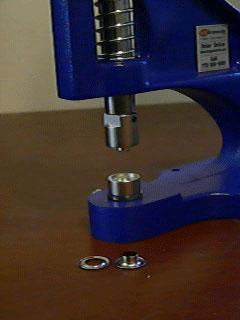
Step
2: Installing Grommets
There
are two pieces to a grommet. The top piece is the eyelet
and the other piece is the washer. The washer will lay
in the bottom die with the rounded side down. The eyelet
piece that looks like a "top hat" should be
pushed up onto the top die so that the large flat part
is on the top and fits snug into the die. The smaller
thinner part that actually pierces the material should
be pointing down.
|
|
|
|
|
|
|
(Click on image for
movie demonstration)
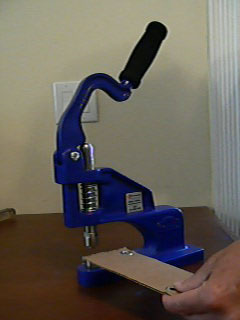
Step
3: Seating Grommets
Once
you have the grommet into the machine simply insert the
material you would like to grommet and push down on the
handle slow, firm and steadily. The grommet will pierce
through the material and the material that was in the
hole will fall out.
|
|
|
|
|
|
|
|
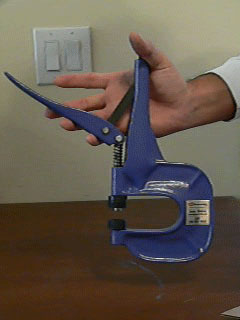
2: CSHAP-1 Hand Pliers Tutorial
|
|
|
|
|
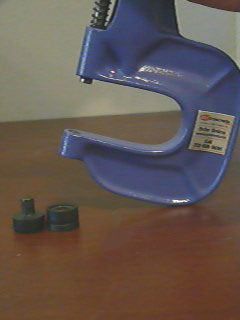
Step
1: Install Dies
The
CSHAP-1 is used with the handle on top and the part with
the opening and dies below. Most hand pliers will have
the dies preinstalled. If yours is not, simply follow
these instructions to install it. One piece of the die
will have a head and a shaft, the other piece of the die
will have just a head without a shaft. The die piece with
the shaft slides into the bottom portion of the machine.
The die piece with no shaft slides over the shaft on the
top of the pliers.
|
|
|
|
(Click on image for
movie demonstration)
Step
2: Installing Grommets
There
are two parts to a grommet. One part is the eyelet and
the other part is the washer. The washer will lay in the
bottom die with the rounded side down. The eyelet part
that looks like a "top hat" should be pushed
up onto the top die so that the large flat part is on
the top and fits snug into the die. The smaller thinner
part that actually pierces the material should be pointing
down.
|
|
|
|
|
|
|
(Click on image for
movie demonstration)
Step
3: Seating Grommets
Once
you have the grommet into the machine simply insert the
material you would like to grommet; squeeze the handle
slowly, firm and steadily. The grommet will pierce through
and seat into the material and the material that was in
the hole will fall out.
|
|
|
|
|